Tutorial
General TIP: The tutorial is a great way to learn about the mechanics in Fractured. It does not explain everything but will get you started. You will also be getting some Knowledge Points here that you will not be getting at any later point in the game, making it easier for you to reach rank 50. Please finish the tutorial!
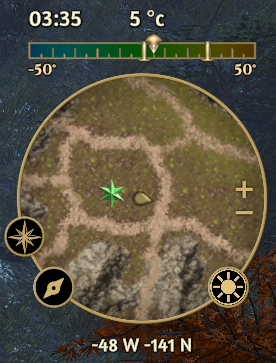
Look out for quest markers as green stars on your mini map. They will guide you to important locations or crafting stations to complete the tutorial.
Some items are much harder to get outside of the tutorial and are useful or sellable. I highly recommend you load up on the following items BEFORE leaving the tutorial world:
- 30 Brain Mushrooms

- 30 White Cap Mushrooms

- 100 Plant Fibers

This is a full walk-through of the Tutorial quests coming up. You can track your quest progress by clicking on the Journey Log in the bottom right

Quest 1: A moment of peace
- Rest at a fireplace
- Add all abilities to preset
- memorize preset
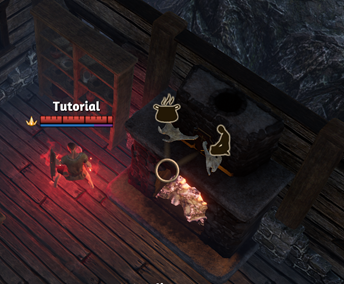
Left-click the fireplace in front of you and select the sitting person. Add abilities and memorize presets
Reward: 200 Knowledge Points (KP)

Once completed. The quest will show a chest symbol indicating a reward is available. You can claim this by selecting the quest in your Journey Log and click on the "Claim reward button"

Quest 2: Healing Provisions
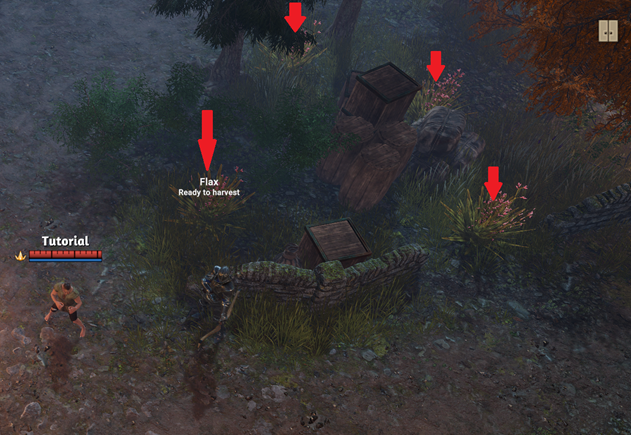
Gather plant fibers from flax plants. You will find those all over the tutorial area like in the picture above. Craft linen weave through regular crafting means, then select the consumables tab inside the crafting menu and turn your linen weave into bandages.
To use them, you can click and drag them onto your hotkeys. Bandages will heal you for a reasonable amount and remain a good healing method throughout the game.
Reward: 200KP, 100 bandages
Quest 3: The best defense
- Craft role specific weapon
- Craft shield
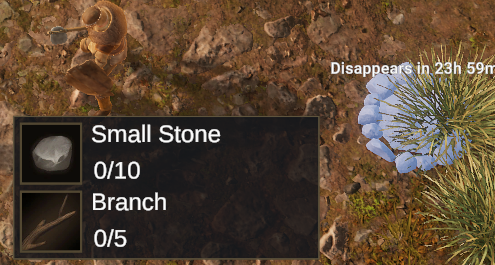
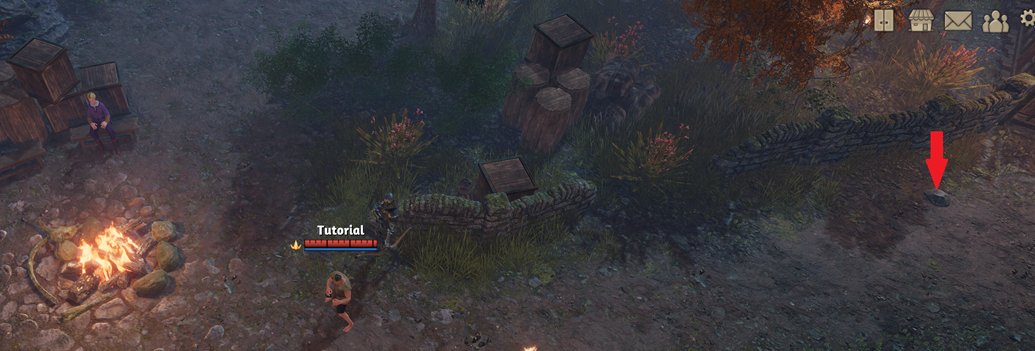
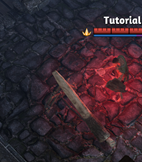
Check your crafting menu (Hotkey: N) for what materials are required to make your needed items. You can gather branches from trees and small stones (red arrow) from the ground. Rope can be made from plant fibers in your crafting menu. Open your inventory (Hotkey: i) and right-click your freshly made weapon to equip it. All equipped items can be viewed in your character sheet (Hotkey: C).
Reward: 200KP
Quest 4: Hunting for supplies
- Gather 20 Raw Animal Hides
- Gather 5 Raw Wolf Meat
- Gather 5 Raw Bear Meat
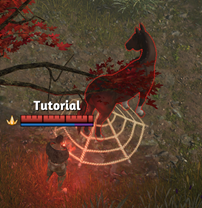
Now that you have a weapon at hand, head to the south and you will find an area with plenty wolves, bears and black widows. Kill all of them until you get a message "Creature Knowledge Complete". You will want to complete all creature knowledge in the tutorial area to maximize your KP gain and gain extra Ranks. Left-click onto corpses on the ground and you will see the loot window appear. Right-Click any item to move it into your inventory. I recommend to pick up anything you find at this time.
You also gain KP from discovering any new plants. Explore around this area and click on all undiscovered trees and plants to gain extra knowledge.
Reward: 200 KP
Quest 5: Safe haven
- Reach the village on the other side of the river
- Craft 5 Roasted Wolf Meat
- Craft 5 Roasted Bear Meat
Follow the green star on your mini-map to the new village across the river and head to the fireplace. Select the cauldron symbol and roast your raw meat.
Reward: 200KP
Quest 6: Gear Up
- Craft 20 Animal Hide
- Craft 1 Hide Armor
Follow the green star on your mini map and turn your raw animal hides into animal hide at the fleshing beam, then go to the tailor bench and finish your hide armor. Equip it by right-clicking it in your inventory.
Reward: 200KP. 10 Animal Hide
Quest 7: A fine steed
- Craft 1 Animal Net
- Find the wild horses
- Tame a horse
- Ride a mount
Collect needed plant fibers and turn them into rope, then turn it into animal nets in the consumables category of your crafting window (Hotkey: N). Drag the animal nets onto your hotbar. Follow the green star on your mini map to the horse area and press the hotkey associated with the nets when you mouse-over a horse. This will keep it in place. Left-click the horse and your character will talk to it, then attempt to tame it. There is a reasonable chance to not be successful on your first try. Just left-click it again until you are successful. You may need to use multiple nets. Once tamed, open your inventory and equip the horse token, press “A” to mount.
Reward: 200KP
Quest 8: A warrior’s dawn
- Reach rank 5
- Memorize a spell preset with at least 6 spells
- Memorize a talent preset with at least 8 talent points
It is time to explore the other areas of this tutorial land. Your goal should be to reach 100% knowledge of all creatures. You can check your book of knowledge (Hotkey: B). You do not gain additional KP for creatures killed that you already completed knowledge for.
As you are working on reaching rank 5, you can do the quests below simultaneously.
Reward: 200KP, 20 gold
Beastmaster (Optional)
- Complete Knowledge of Wolf
- Complete Knowledge of Bear
- Complete Knowledge of Black Widow
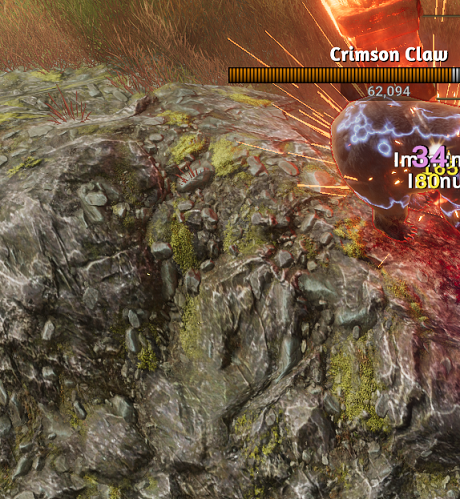
- Kill 1 Night Fang
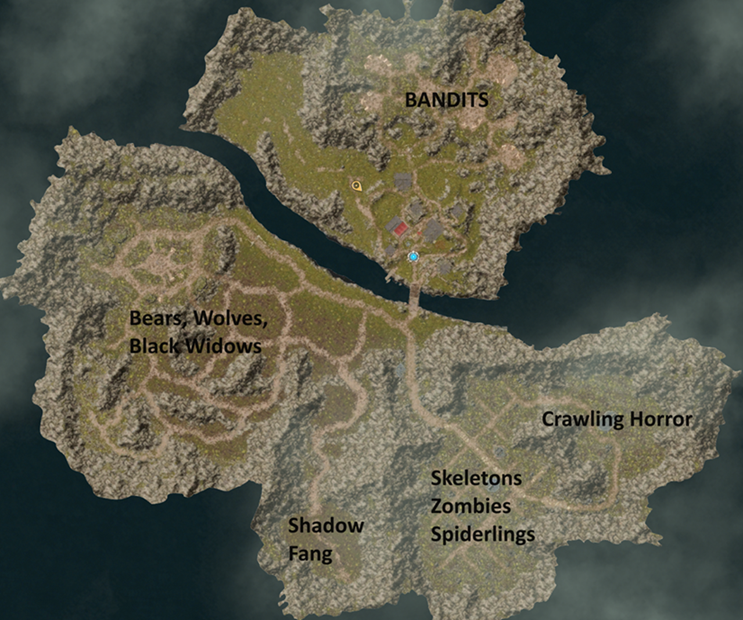
You can find Night Fang in the bottom center as indicated on the map at the start of this section. Valiant Divine Rewards can be opened by right-clicking them in your inventory. They have a tiny chance of turning into very valuable Orbs. Most likely you will get gold from them though.
Reward: 1 Valiant Divine Reward
Undead Slayer (Optional)
- Complete Knowledge of Spiderling
- Complete Knowledge of Zombie
- Complete Knowledge of Skeletal Archer
- Complete Knowledge of Skeletal Mage
- Kill 1 Crawling Horror
You can find all undead in the bottom right part of the map. You can also find the crawling horror location on the map at the start of this section.
Make sure to look out for Brian Mushrooms when you are there. These are nice reagents for later.
Reward: 1 Valiant Divine Reward
Bounty Hunter (Optional)
*Complete Knowledge of Bandit Archer
*Complete Knowledge of Bandit Marauder
*Complete Knowledge of Bandit Executioner
*Complete Knowledge of Bandit Oppressor
*Complete Knowledge of Bandit Sorcerer
Bandits can be found north of the village in the hills.
Reward: 1 Valiant Divine Reward
Fully Equipped
*Wear a full set of armor
Go to town and craft more armor items of the same group. Hide armor, cloth armor and equip helmet, chest, gloves and pants of the same group.
Reward: 200KP
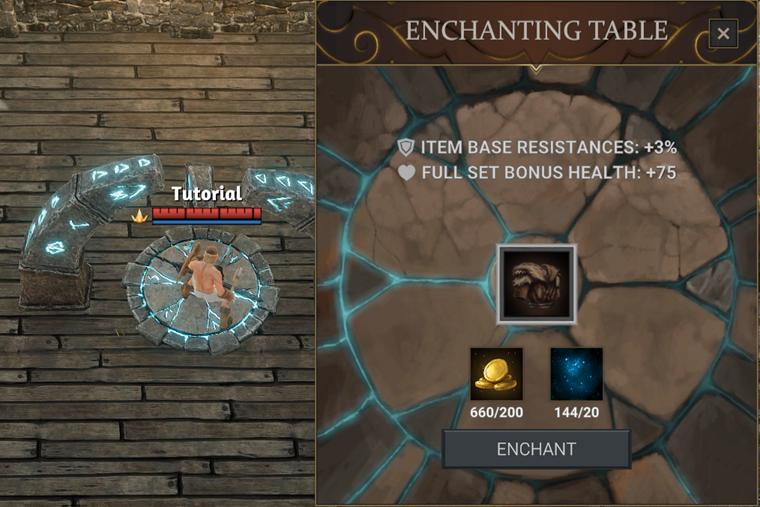
A touch of magic
- Enchant a piece of armor to +1 or more
- Enchant a weapon to +1 or more
After completing your bandit knowledge, you should have gathered enough gold to go to the enchanting table. Drag any armor piece (chest recommended) into the slot of the table. Only items in your inventory can be dragged there. You need to unequip it first if you are currently wearing it.
Click "Enchant". The first enchantment upgrade costs 200g and 20 Primal Energy Residue. Repeat the same with the weapon of your choice.
If you are short gold, go back to the bandits.
Reward: 400KP, 50 Primal Energy Dust
The adventure begins
*Use the portal to leave the tutorial region
Make sure you have all other quests and creature knowledge completed. Then head to the green star on your mini map and click on the portal. This will teleport you into the regular player worlds. There is no going back.
You have the choice between Terra and Syndesia. Both worlds have different biomes, creatures and materials. You will always be able to travel between worlds by using a stargate. These require some materials to open, but you can use those opened by others. Players often announce when they open stargate in General Chat.
Congratulations! You successfully finished the tutorial and are ready to explore the vast worlds of Fractured!
Reward: none